Studio Build Part 2 “Flooring”
Lots has happened since the clearing out of the new studio, building of base walls for entrance windows.
This is where I start with space designs, for the server room, vocal booth, where the main console, and video edit station will be placed. In addition the storage systems, screen placement, projector, speakers, Mixing consoles, DAW machine, video editing machines.
While doing a lot of research on flooring types, how the affect the sounds, and why you would use these different types of structures. What effect it would have on the final product of a live recording in the studio.
One of my desires is to have the studio, to have the effect of a live stage sound.
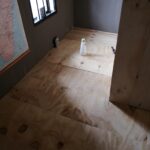
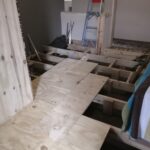
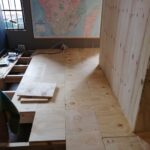
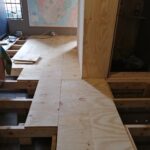
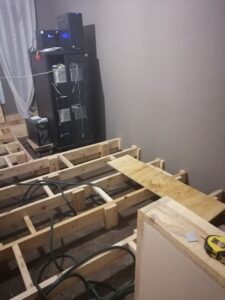
Creating the cavity floor gives the raised stage effect, and if I do not want this, I can damper it with rubber mats. The stage effect is mostly created for live acoustic instruments, like drums, but found that the bass guitar has a more solid resonance.
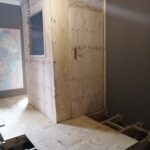
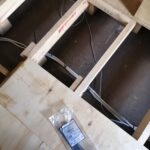
As seen in the pictures above, base structure being created, for the hardwood floors to be installed, of which is in 300mm width planks. This is for ease of installation and maintenance, if required to work under the floor. The cavity floor is a neat and tidy place, to put all cabling out of the way. All the cables, Audio, Computer and Electrical are placed under the floor keeping in mind that Audio and Electrical must not be close to each other.
Where the server rack is currently standing, is the cavity for the vocal booth, will discuss this later in the build.