Studio Build Part 1 “Parts”
Selecting the construction parts for the studio.
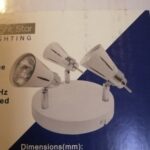
Out I went checked for lighting, electrical switches, wood, audio connection boxes, cabling, Air conditioner, Outside air cooler for the sound booth, with a sound damper exhaust system.
While looking for parts, I discovered how expensive this becomes, realizing, that the time to build will change, as to when I get finance.
Electrical, purchasing according to our electrical standards in country. These need to be connected by a qualified electrician, to get a Certificate Of Compliance.
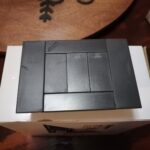
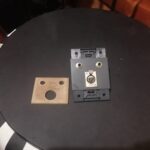
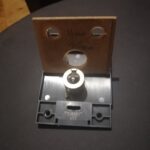
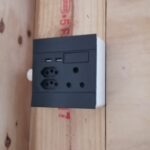
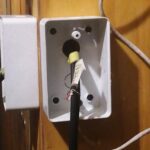
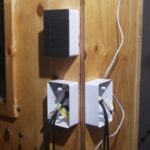
Once I had priced the audio connection boxes, saw the cost, I decided to design and build my own. Made a few drilling templates, purchase electrical blanking boxes and made them for a fraction of the cost. Perspective, 4 way studio connection box around R3500, built R300.
This is where the big job starts. Clearing out the room, doing some brick work, plastering, removing window frames, installing the air conditioner. Closing back wall windows to create sound proof area and help getting some more space, using the walls for shelving, furniture placement.
Now that I have selected the basic items to start with the build, done my research “Lots Of”, planning, measuring, drawings, floor planning “discussed in construction part 2”. How we going to place the vocal booth and server room.
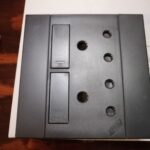
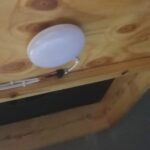
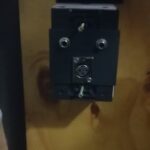
Light Switches, Chosen in black. Controlling each individual light. Designed the controls for the vocal booth, silent Air-conditioner, Booth Lighting, Recording Lighting, making sure that each light in the studio is controlled separately to avoid a flood of white light or complete darkness.
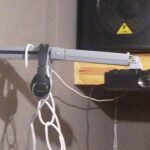
Installing an Audio vocal connection box by the drums with a headset monitor and instrument plug. These have connections to the patch panels, with exception of the vocal plug, which goes to the vocal booth mixing console. The other goes to the main mixing console, headphone connections unit HA8000 and patch panels.
A few pics below of the electrical connections, templates and boxes made.